
Precision Tailored Golf
This one-time setup personalises the device to your exact body — like having a professional coach standing beside you on every single shot, telling you precisely where to stand and how to align.
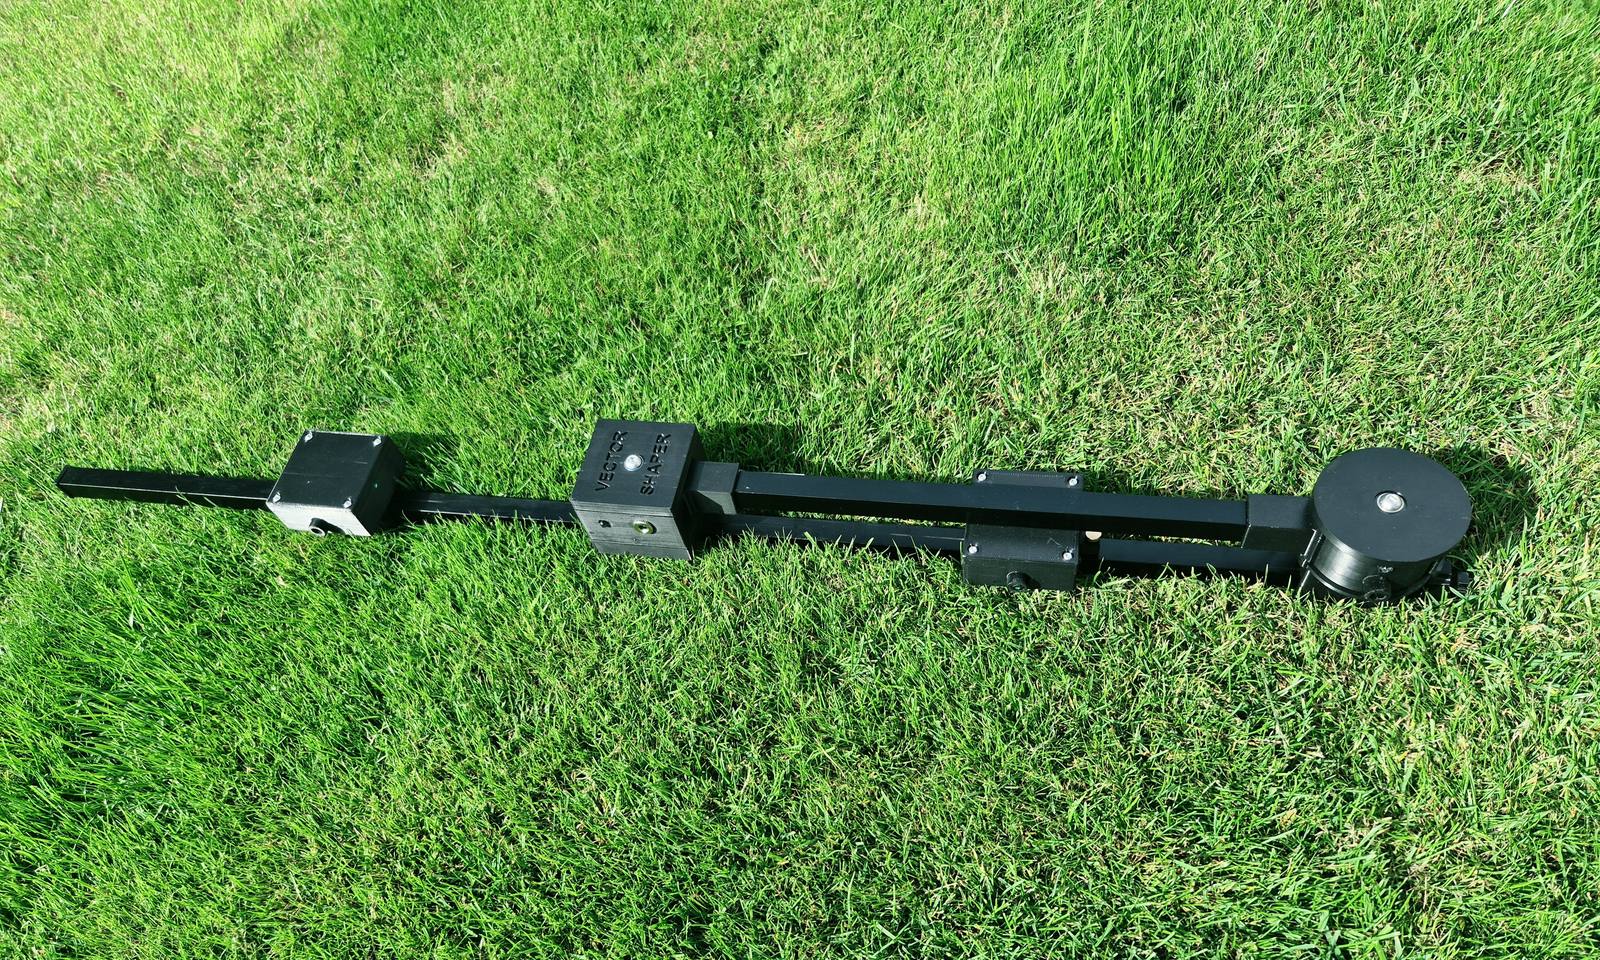
Initial setup — tailored to you
Start with the device in the closed position. After this, straight, draw and fade are just a slide or a twist.
- 01
Start with the device in the closed position (rotator housing aligned with the main shaft).
- 02
Loosen the thumbscrew at the base of the central pivot point.
- 03
Slide the pivot point (rotator housing) along the main shaft. This frees the rotator housing from its closed, locked position and allows it to move freely.
- 04
Rotate the rotator housing shaft so it clicks into position and sits perpendicular to the main shaft.
- 05
Hold the device vertically against your mid-chest, with the rotator shaft pointing straight down toward the ground.
- 06
Look through the small viewing window at the back of the pivot point and slide the housing until the centre mark on the main shaft is perfectly centred in the window.
- 07
Gently tighten the thumbscrew to lock the pivot housing securely in place.
- 08
Loosen the thumbscrews on lasers 4 and 5.
- 09
Slide lasers 4 and 5 outward until they are exactly shoulder-width apart. For this initial setup, shoulder width is the natural distance between the outside of your shoulders and the outside of your feet, so that when you stand to the ball, your feet sit directly under your armpits.
- 10
Gently tighten the thumbscrews on lasers 4 and 5. These stay locked for the entire session — and all future sessions.
You have now tailored Vector Shaper precisely to you. All future adjustments (straight, draw, or fade) are made quickly by sliding the main shaft or twisting the rotator housing.
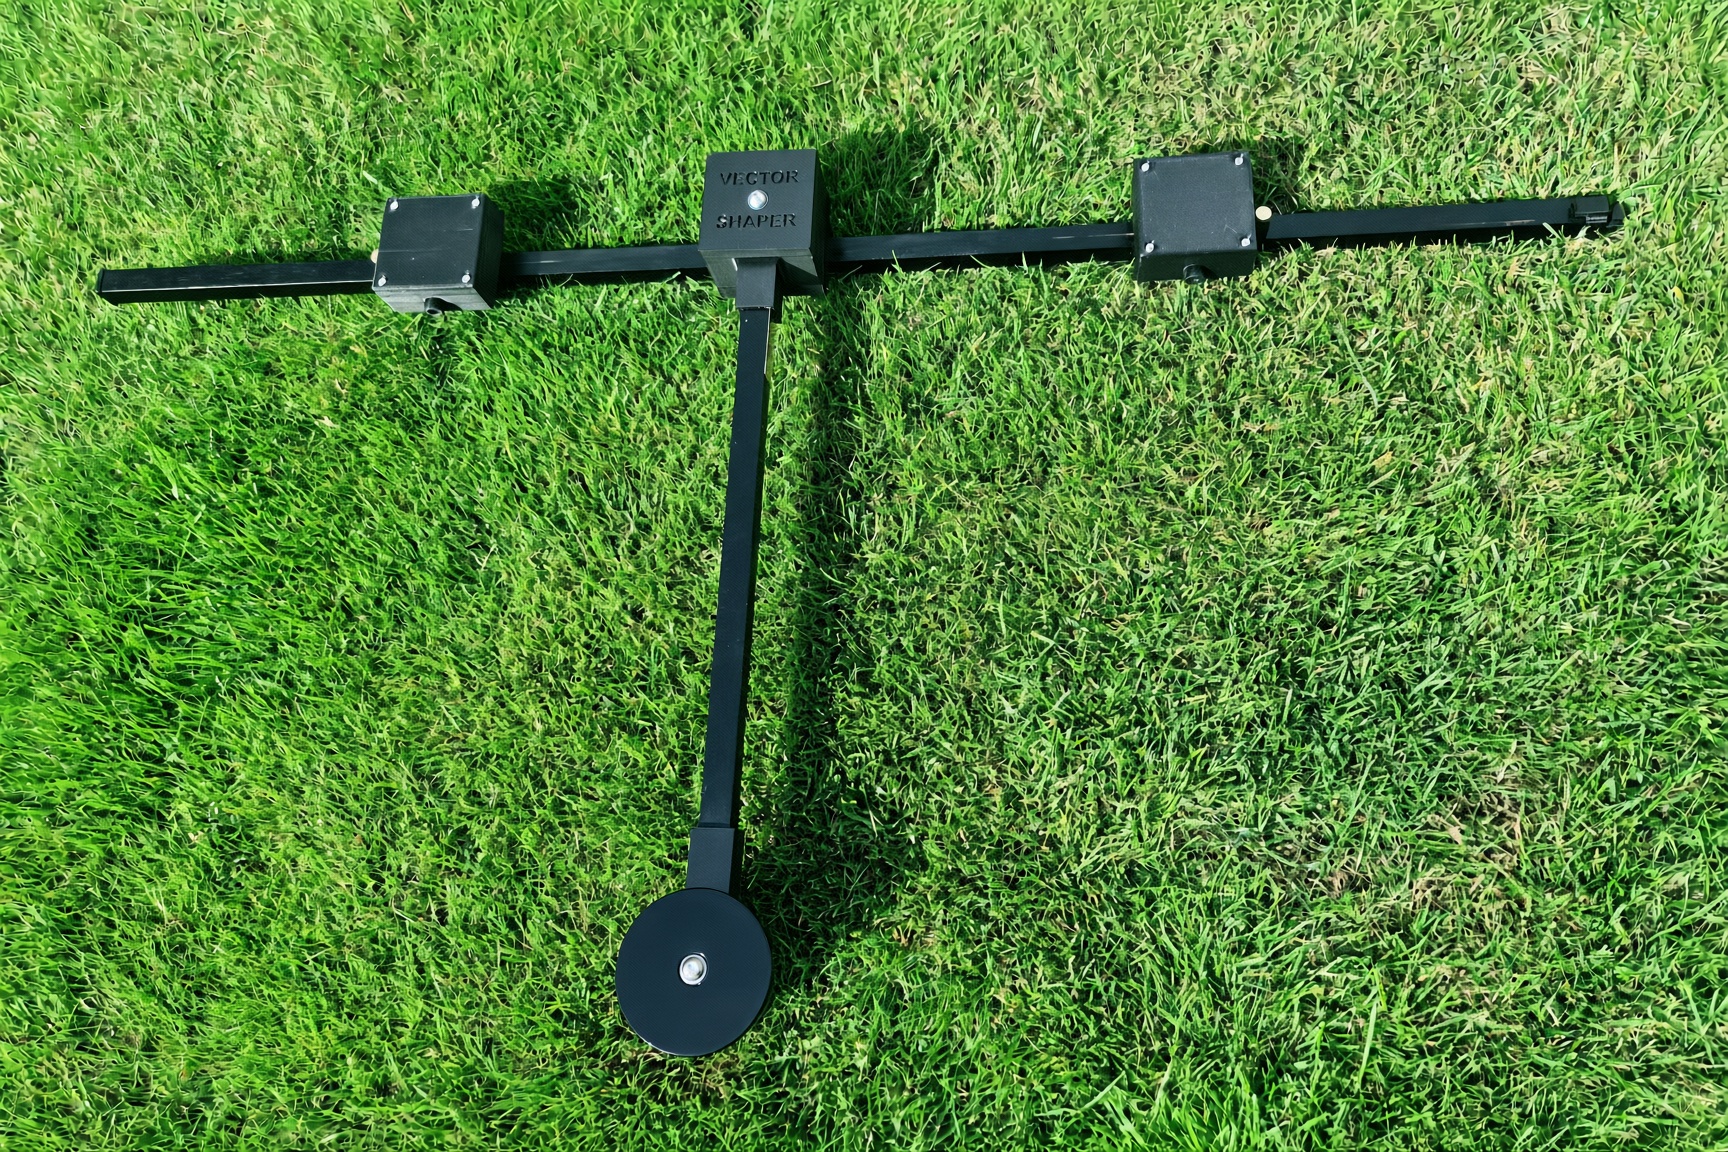
Marking the shaft
Only the centre is marked when it arrives. That mark is for the central pivot — the shoulder-width home you have just locked. It is the same for every club.
Ball position is not. A wedge sits near the middle of the stance; a driver sits forward. The housing slides along the target shaft to put laser 3 on the ball. Once you have found the spot for a club, mark it with the white Sharpie supplied. The marks wipe off if you change your mind.
Starting distances from the centre mark (42.7 mm golf ball):
| Club | From the centre |
|---|---|
| Driver | 85–130 mm forward |
| 3 Wood | 85 mm forward |
| Hybrid / 5 Wood | 65 mm forward |
| 4–5 Iron | 45 mm forward |
| 6–7 Iron | 20 mm forward |
| 8–9 Iron | Centre (0 mm) |
| Wedges | 0 to 20 mm back |
Starting points only. Tailor the marks to you. Typical labels: LW · W · 9 · 7 · 5 · H · 3W · D.
After that, any club is: slide to the mark, set the ball on laser 3, hit. Straight, draw and fade are then only a click — that is Shot shapes.
Sizing
Three rotator shaft lengths (lasers 1 & 2). The main target shaft stays 900 mm on every size.
The distance from the device to the feet changes between clubs. A wedge has the feet close to the ball; a driver has them farther back. Rotator lengths are sized so lasers 1 and 2 hit the shoes for squareness, with a safe ~200 mm device-to-ball buffer.
| Size | Rotator | Player height | Best for |
|---|---|---|---|
| Junior | 250 mm | Up to 5′6″ (168 cm) | Younger / shorter players (adult supervision required for younger players) |
| Regular | 350 mm | 5′7″ – 6′1″ (170–185 cm) | Most adult golfers |
| Tall | 450 mm | 6′2″+ (188 cm+) | Taller players |
Lasers 1 and 2 shine onto the sides of your feet. It is not critical where they land — the front or the back of the foot. It is important that both hit the same place on each shoe.